Constructing My Panel Boards
Published by: Carl Urwiler | October 11, 2024
The surfaces I choose to work on play a vital role in my creative process. One of my favorite substrates to use for acrylic painting is panel boards. Not only do they provide a sturdy foundation for my paintings, but they also allow me to explore various textures and techniques. In this post I wanted to take you behind the scenes and share how I construct my panel boards.
I construct each one paying attention to detail, using only top-quality materials to ensure durability and longevity. Each board is built to provide a solid, smooth foundation, allowing for texture application and ensuring it will stand the test of time.
Step 1: Selecting the Materials
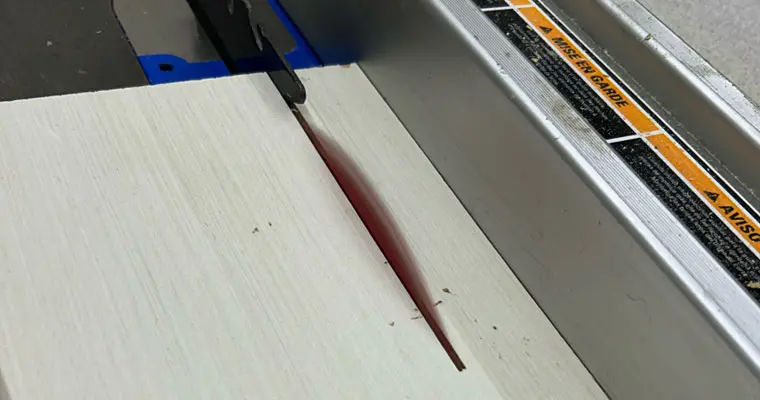
The first step in constructing my panel boards is choosing the right materials. I prefer high-quality plywood for it’s durability and consistency. I prefer to use 3/4″ birch plywood for the stretcher boards and support framing because of its exceptional strength and consistency.
Step 2: Cutting the Stretchers and Panels
Step 3: Assembling the Framework
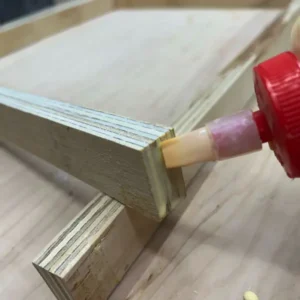 The third step in creating my panel boards is assembling the frame. I start by applying wood glue to the edges of the pre-cut pieces, carefully aligning them to ensure a strong, lasting bond. After the glue is applied, I secure the frame using finish nails to provide additional strength and stability. Throughout this process, I take extra care to make sure the frame is perfectly square and flat, checking all angles to prevent any warping or misalignment. This attention to detail is crucial, as it creates a solid, even foundation for the panel, ensuring the finished piece will remain durable and hold its shape over time.
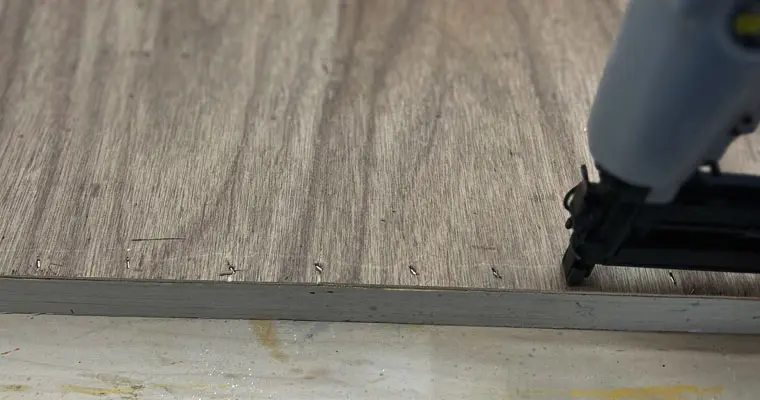
Once the frame is assembled, the next step is to attach the front panel board. I apply a layer of wood glue along the edges of the frame, ensuring even coverage for a strong bond. After positioning the panel board on top, I secure it in place with wood staples for extra stability. This process ensures the front panel is firmly attached to the frame, providing a smooth, durable surface that’s ready for the next stages of texturing and sanding.
Step 4: Adding Texture
Step 5: Priming the Surface
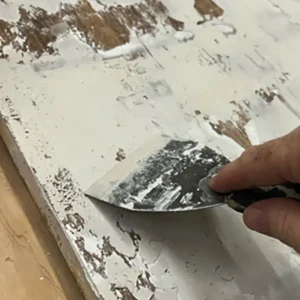
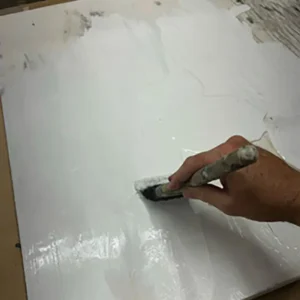 Next comes the priming process. I apply layers of primer, which serves as a sealer. It not only provides a protective layer but also enhances the vibrancy of the colors I will be using later. Once the panel has been primed and had sufficient time to dry, I do a final inspection to ensure everything is looking good. This step is crucial, as it allows me to check for any imperfections or inconsistencies in the surface that might affect the final painting. Once I’m satisfied with the condition of the panel, it’s ready to begin painting. This moment marks the transition from preparation to creation, and the truly fun part can begin.
Conclusion
Constructing my panel boards is a labor of love that sets the stage for my artistic creations. Each step in the process—from selecting materials to applying the final finish—contributes to the overall quality of my work. By taking the time to create sturdy, textured panels, I can fully express my vision and invite viewers to experience the depth and richness of my art.
I hope you enjoyed this glimpse into my creative process!
If you have any questions or would like to learn more about my artwork, feel free to reach out.
Happy painting!

